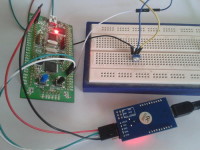
Arduino and Matlab scope project
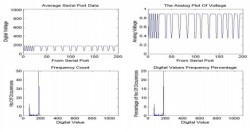
Oscilloscope is quite a universal instrument which I would recommend to invest first. Normal bench scope does the job pretty well. I am not a big fan of DIY scopes that are built of microcontroller and LCD or interfaced to PC via the serial interface. You will never get decent sampling and functionality with low-end parts. But in other hand, building such scope can be fun and be a good choice for student projects. prem_ranjan shares his Arduino-based scope project, where he outputs waveform to MATLAB plots. The investment into this project is minimal. O course you could capture signal directly to Arduino analog pin, but op-amp based signal conditioning could make life easier. In the end, here are few features of this scope: