As we mentioned before, we are going to stick with free software tools. So we are going to use free and open-source GCC compiler to develop programs for ARM Cortex microcontrollers. As we will work from the windows environment, there are a couple of serious choices that are pretty similar. One is using CodeSourcery Lite edition or Yagarto Gnu ARM toolchain. Both tools work the same as they use the same GCC compiler and other tools. Both seem to be supported frequently. CodeSourcery claims that they are updating Lite Edition twice a year, while Yagarto is doing this more regularly depending on updates of separate tools. So your choice won’t affect your final result.
When installed you can quickly check if everything works fine by opening command-line tool and writing a simple command that checks the version of ARM GCC compiler:
arm-none-eabi-gcc.exe -v
Both can be used with Eclipse IDE and require a makefile. The only difference – is a path to tools when compiling. Download any or both of these and install to your machine. Next step is to prepare Eclipse IDE Here you find great step-by-step instructions on how to set up this environment (you can skip debugger settings for now).
ST-Link Utility
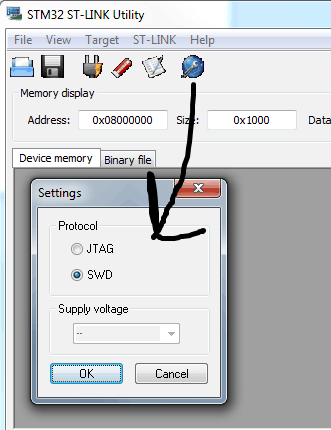
When the program is compiled, we need somehow to upload it to microcontroller Flash or RAM. For this, there is an excellent ST-Link Utility developed by STMicroelectronics. Its documentation can be found here. As STM32-Discovery is already equipped with ST-Link hardware, we only need to plug the USB cable and start working. Once installed, in settings, select SWD protocol to begin talking to STM32-Discovery board:
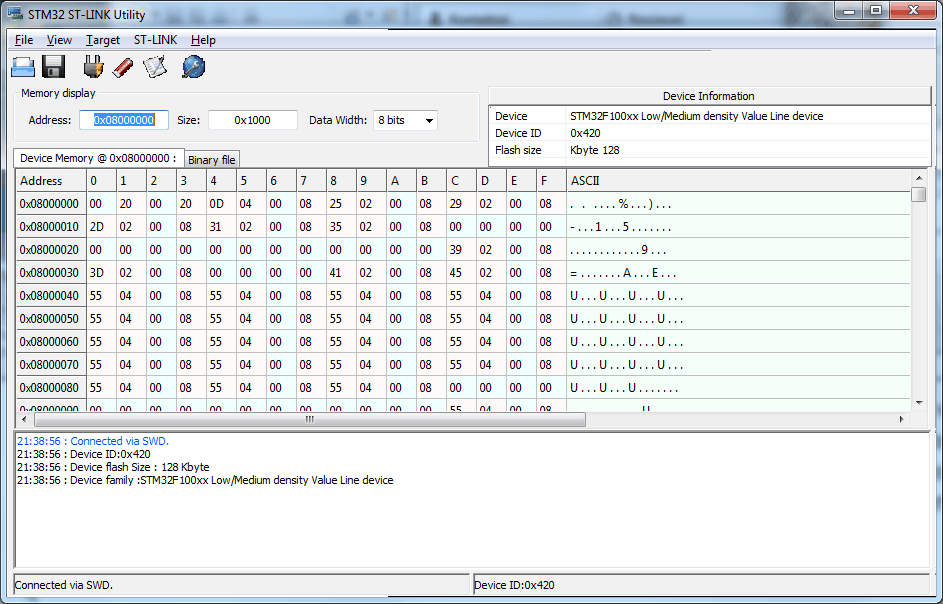
After confirmation you should see a piece of connection information:
These are all tools that will give you a start in writing programs for STM32 microcontrollers and loading them to chip.


